Read these Instructions completely before you start !
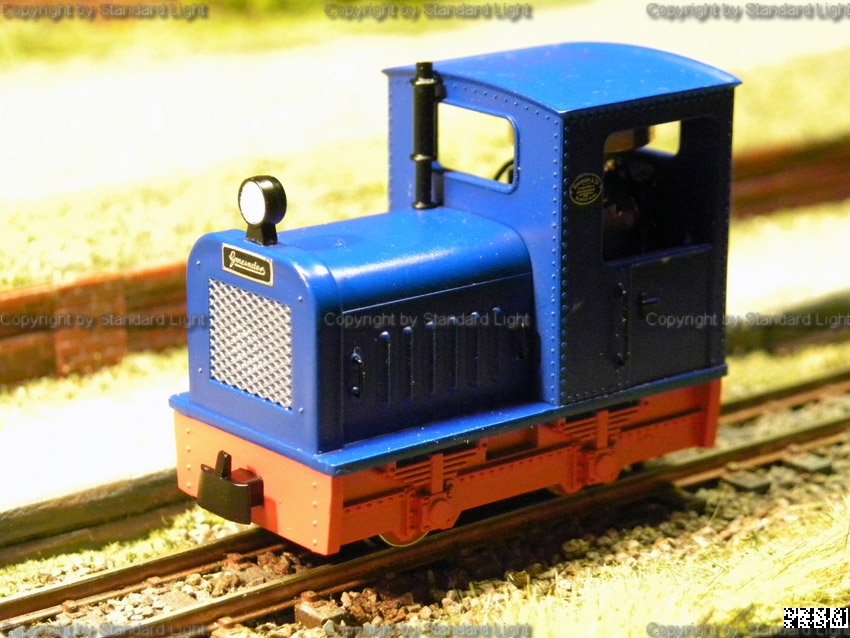 |
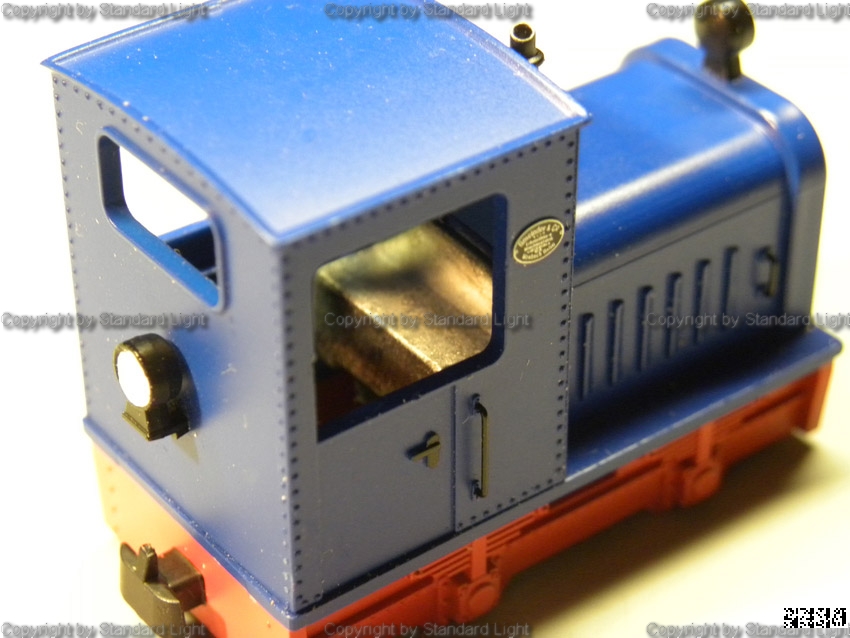
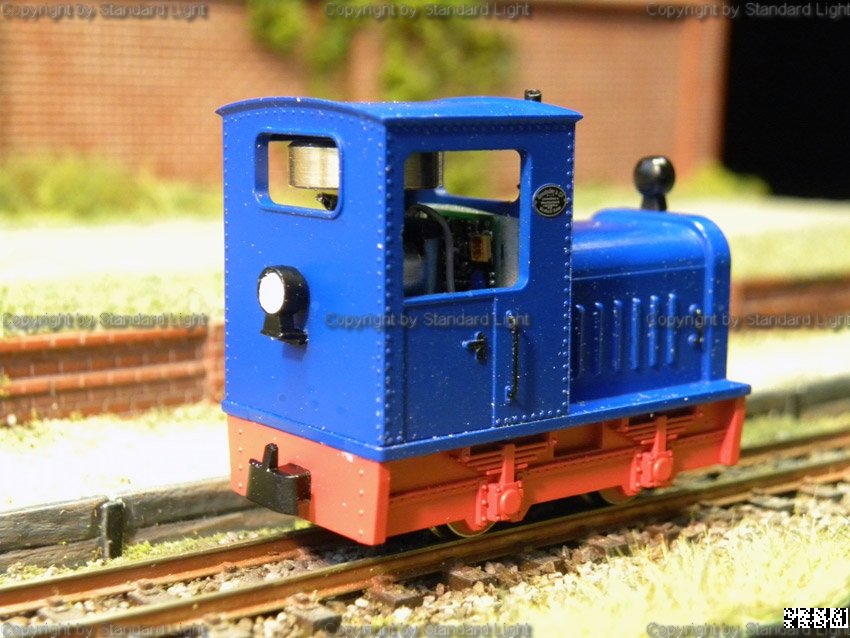
Die
kleine „Blaue“ vor dem Umbau The little blue loco before the modification |
 |
Der
Decoder liegt bereit. Da keine Beleuchtung
vorgesehen ist, werden das weiße und das gelbe
Kabel entfernt. The Decoder is ready. As no lighting is existing the white and yellow cable are removed. |
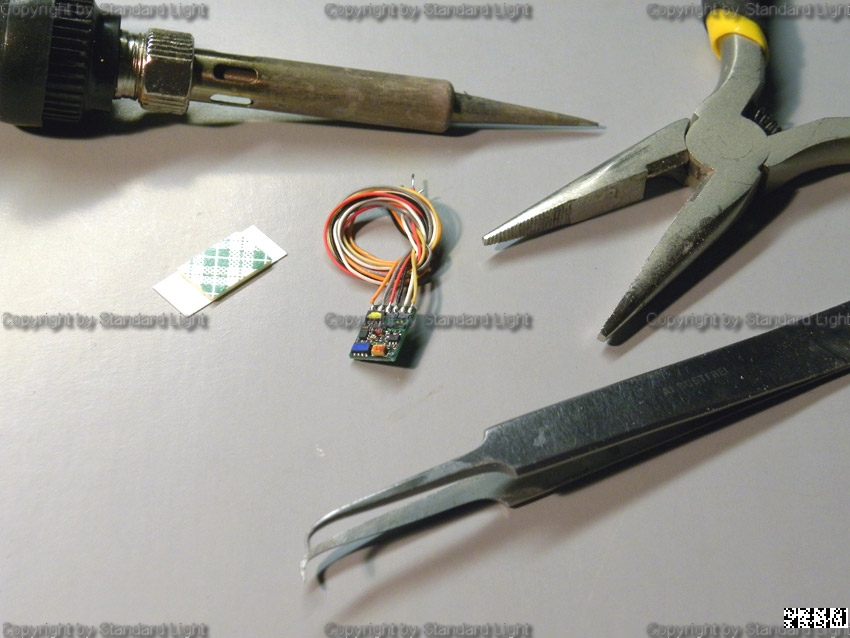 |
An Werkzeug
wird nur wenig benötigt: Lötkolben mit
Bleistiftspitze, Flachzange, Pinzette,
doppelseitiges Klebeband und eine große Portion
Geduld. Only a few tools are needed: Soldering Iron with a thin tip, flat nose pliers, tweezers, double sided adhesive tape and lots of patience ! |
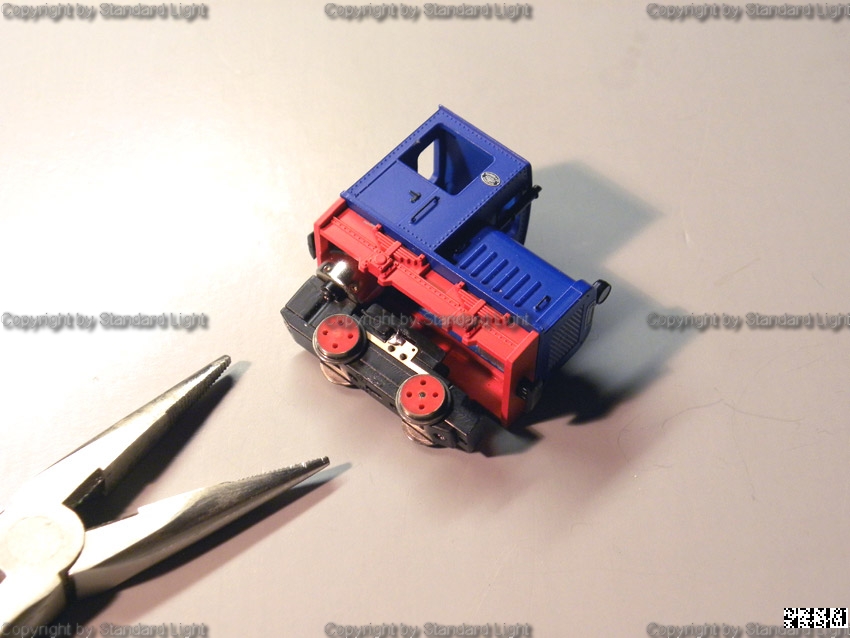 |
Mit
der Flachzange das Fahrgestell nach unten
abziehen. Da es eingeklipst ist, geht das gut von der Hand. With the flat nose plier you can pull the chassis from the loco. This should be easy as the chassis is clipped into a plastic holder inside the loco. |
 |
So
sieht es dann aus. Das rote Fahrwerk muss für
den Decodereinbau nicht von der blauen Karosserie getrennt
werden. This is how it looks like . The blue and red part of the overstructure must not be separated. |
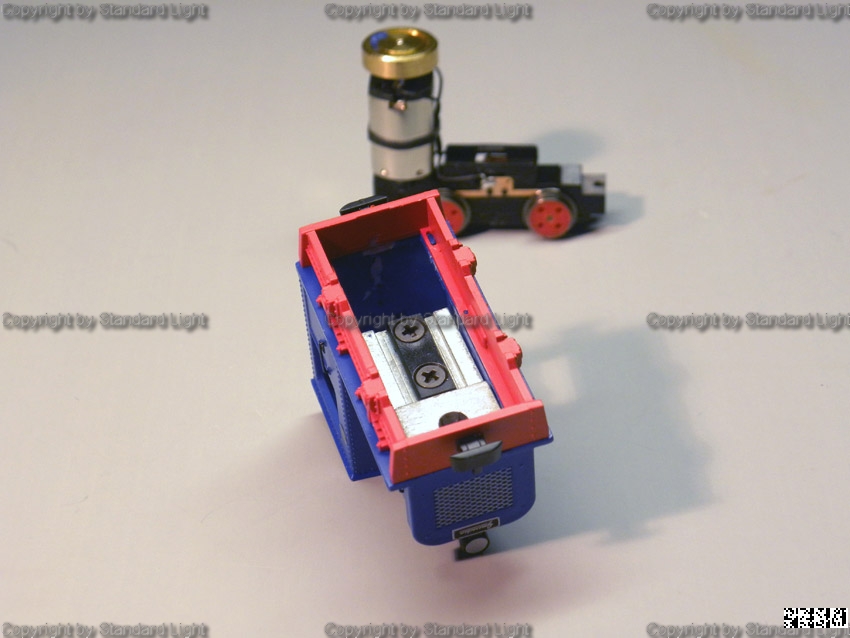 |
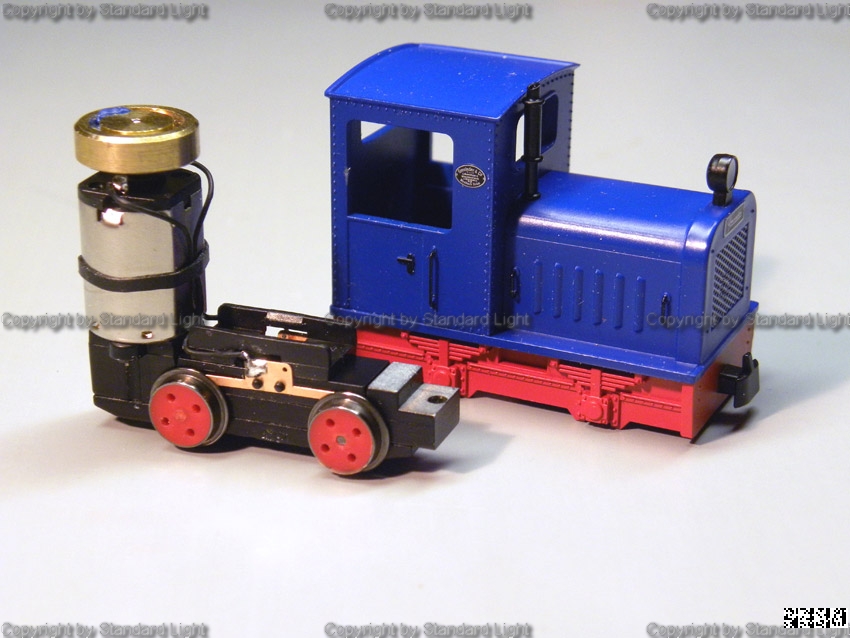
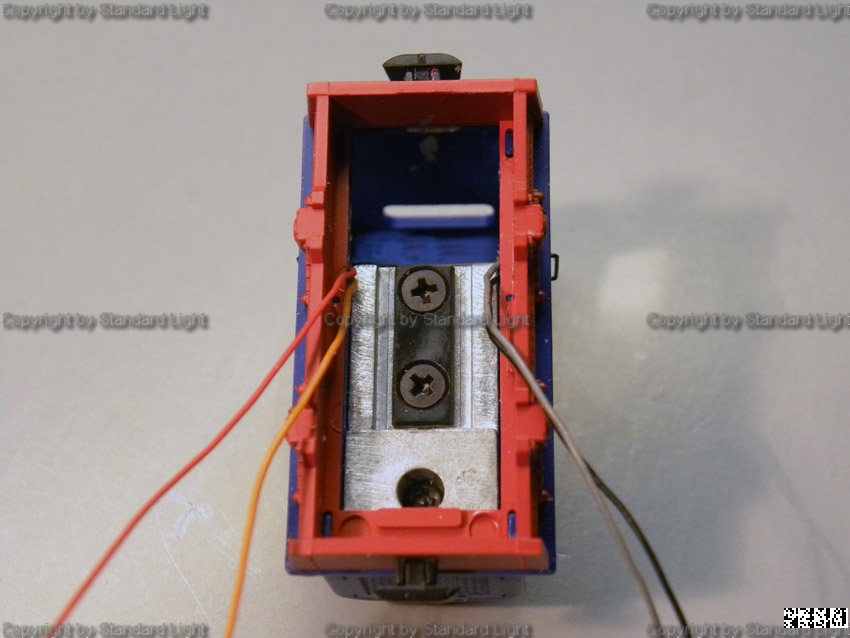
Der
Anblick von unten. View from underneath |
 |
Hier
sieht man den Einbauplatz für den
Decoder Here you can see the mounting space for the decoder |
 |
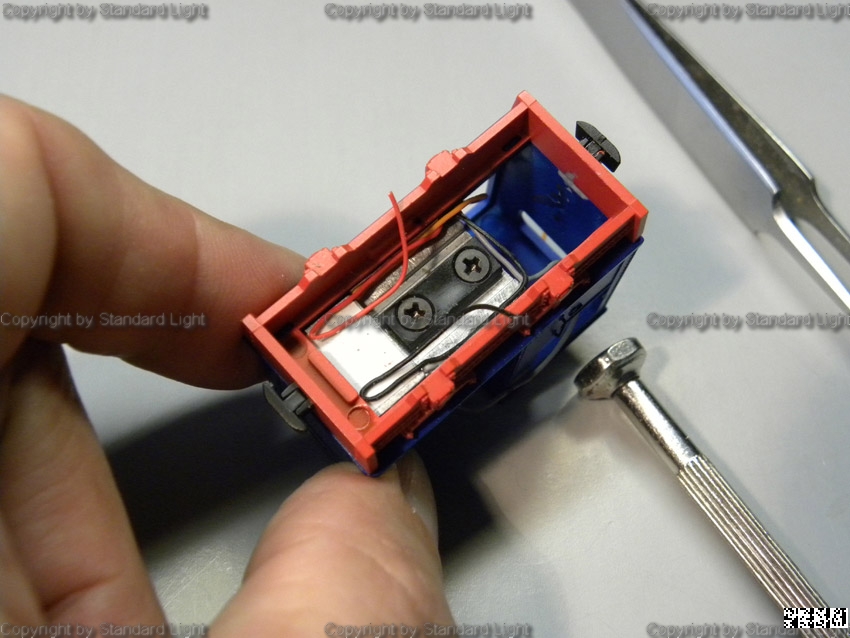
Jetzt
wird mit der Pinzette doppelseitiges
Klebeband sowohl an die senkrechte als auch auf die
waagerechte Fläche geklebt Now a piece of adhesive tape is placed with the tweezers to the vertical and the horizontal surface. |
 |
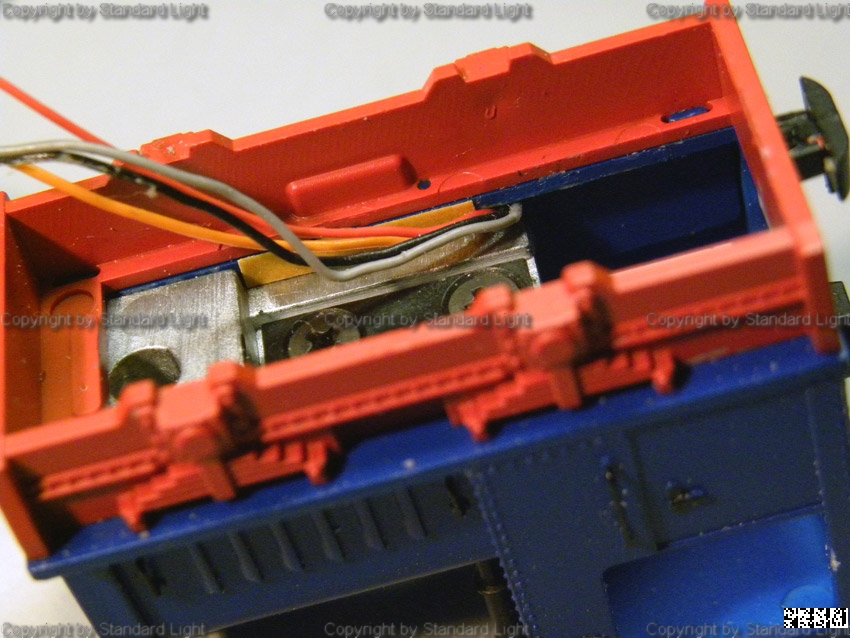
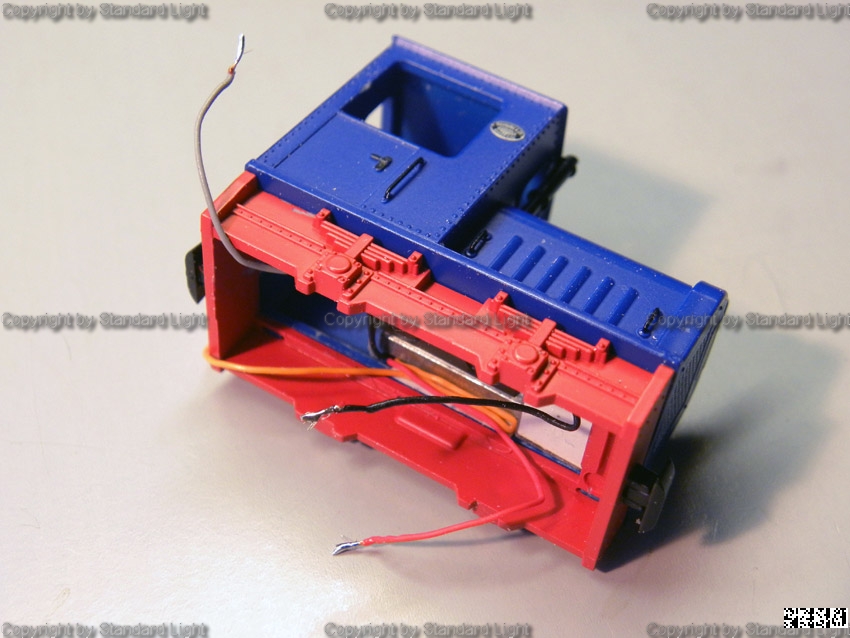
Die
Kabel werden vorsichtig nach unten abgewinkelt
und anschließend nach unten
durchgeführt. The cables are bent downwards and then fed through the loco . |
 |
Dabei
bitte auf die zusammengehörigen Farben achten Keep the colors together that belong to each other (grey+black and red+orange) |
 |
Da
der Decoder fest im Gehäuse angebracht ist, darf
das Kabel nicht gekürzt werden. Deswegen kommt jetzt
wieder das Klebeband zum
Einsatz. Auf der linken und rechten Seite wird jeweils ein
Streifen aufgeklebt. As the decoder is fixed into the housing the cables must not be shortened. Here an additional strip of adhesive tape is fixed to both sides. |
 |
Die
Kabel werden nun auf der Seite des
Decoderanschlusses nach unten geführt. The cables are brought down on the side of the decoder. |
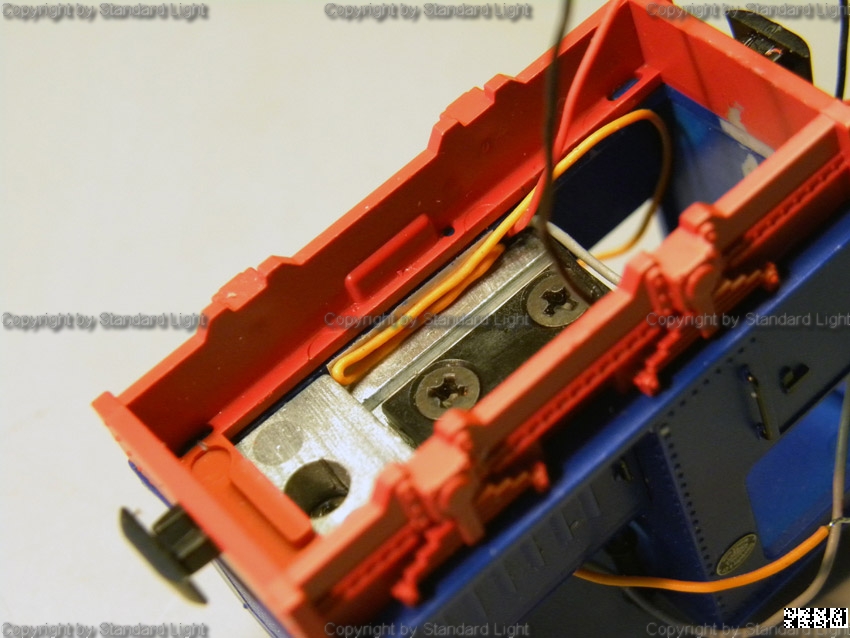 |
Das
orangefarbene Kabel
einmal hin-und zurück am
Klebestreifen ankleben und auf der
gegenüberliegenden Seite genau so mit dem
grauen Kabel verfahren. Vorher das graue und das
schwarze Kabel zur
gegenüberliegenden Seite führen The orange cable must be placed as a loop forward and backward again. On the opposite side the same happens to the grey cable. Make sure to place black and grey to the other side first. |
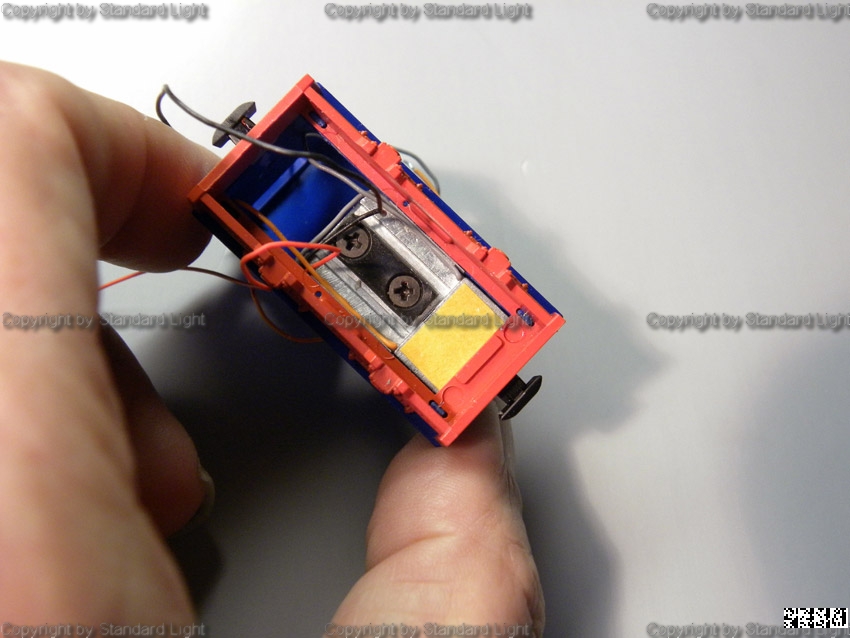 |
Auf
das vordere rechteckige Teil kommt jetzt
ebenfalls das Klebeband zur Hilfe. A piece of tape is now also placed to the front square. |
 |
Hier
wird nun das rote und auf der anderen Seite
das schwarze Kabel hin und zurück geführt. Now the red and black cable are placed in a loop also by using the front tape. |
 |
Jetzt
die Kabel kürzen und verzinnen. Darauf
achten, dass genügend Länge am orangen
und am grauen Kabel bleibt. Now shorten and tin the remaining cable ends . Make sure that the orange and grey cables remain long enough. |
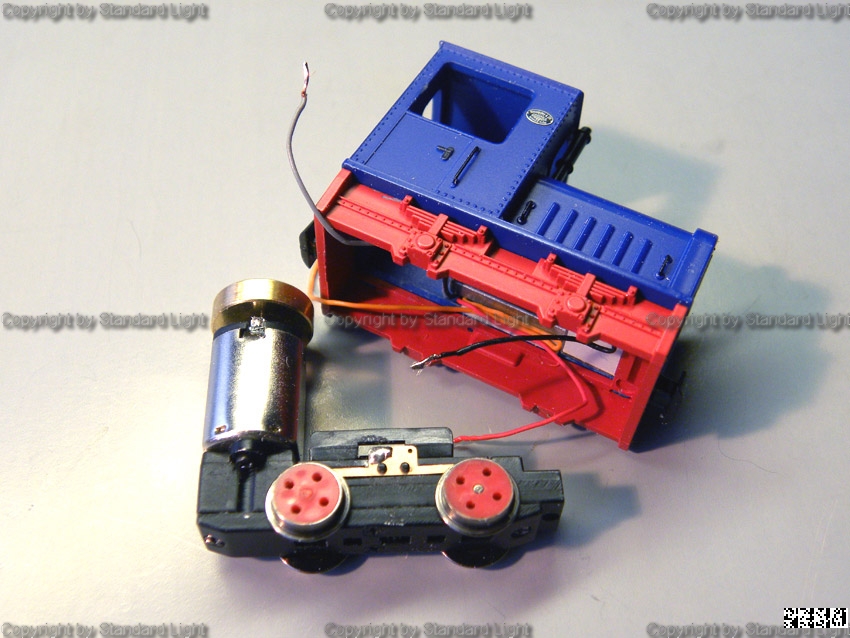 |
Das
Fahrwerk unter das Gehäuse legen und alle Kabel
anlöten Place the chassis underneath the body and attach all cables. |
 |
Dann beide Teile wieder vorsichtig zusammenführen. Die Kabel sollten jetzt noch einmal gerichtet und kontrolliert werden. Ist das geschehen, das Fahrwerk mit einem hörbaren Klick in die Kunststoffaufnahme klipsen. Now you can put the two parts back together. The position of the cables must be controlled and in case adjusted. Once everything is in good order the chassis should go back into its holder with a slight click. |
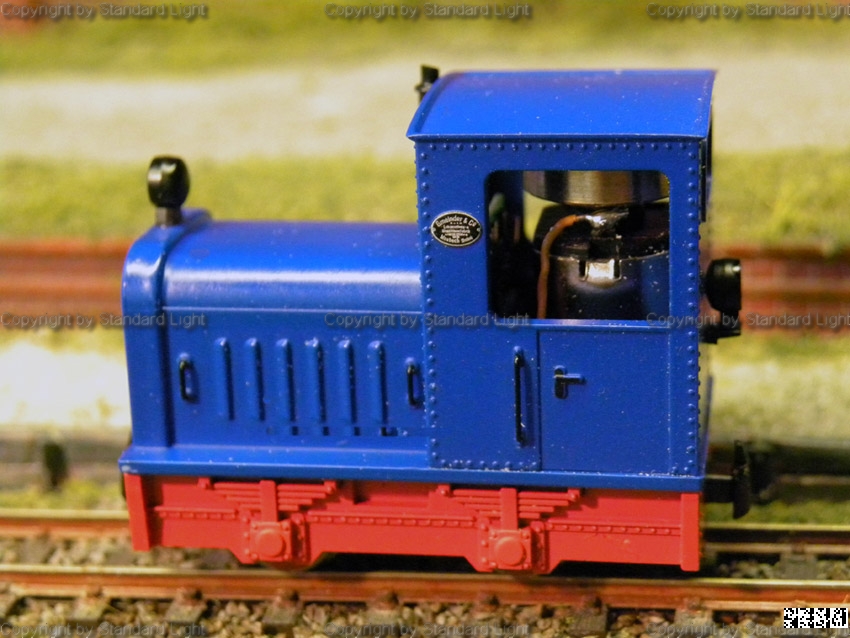 |
Geschafft. Done ! |
 |
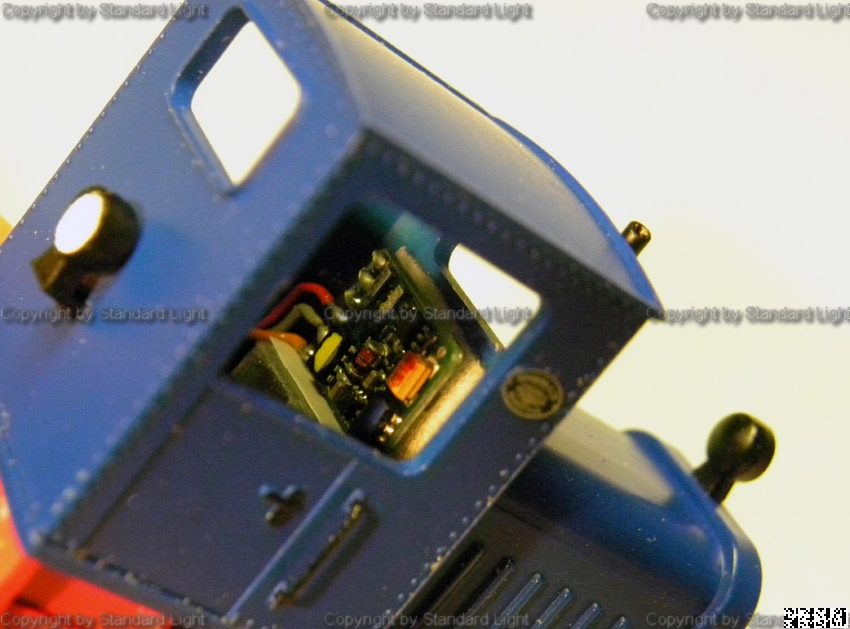
Innenansicht
nach dem Umbau. View to the inside after the modification |